
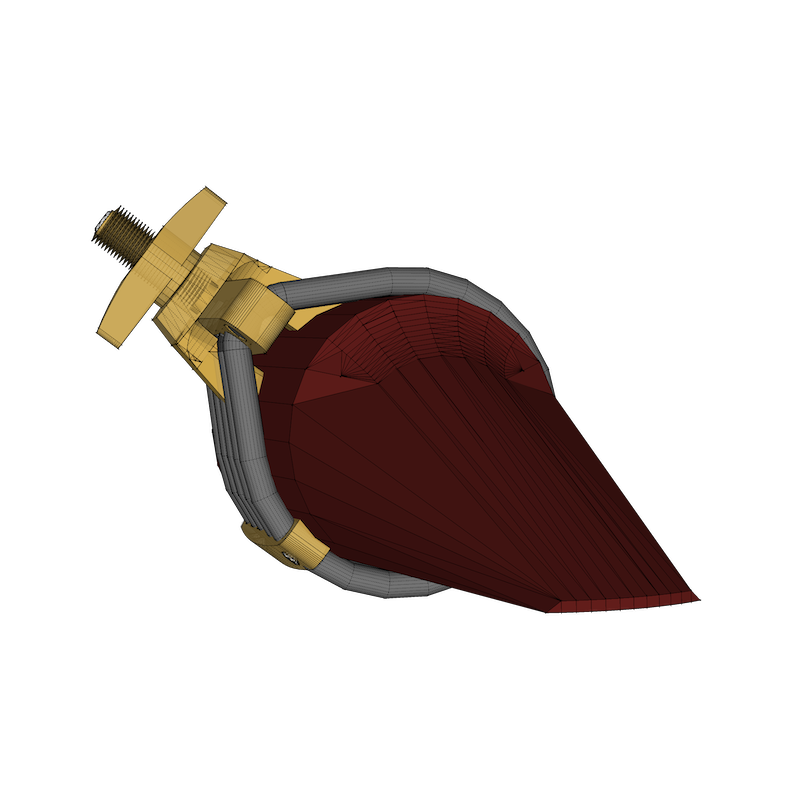
Mounting (A-frame Ligature)

1. Note that two cords should locate towards to you.
2. For the beginning, tighten the Nut all the way down until the Front 2 cords are very tight without any movement. You can feel it by pushing them with your finger.
3. After you get used to our ligature, try to tighten less, which will make the reed vibrate more freely.
4. By adjusting pressure on the cord, you can compensate thickness of reeds. In other word, you can make thicker or thinner reed (than your preference) sound similar.
5. One or two metal bars on both side of the cord is Fine tuner. As illustrated, you can move up or down. Each location will make difference in focus and darkness/ brightness of the sound. Find a right position of the Fine tuner as you prefer.
*The ligature will conform to shape of your mouthpiece in few days of use and the sound will get better. *The small black pad under bridge (Bridge pad) is there to protect surface of a mouthpiece from minor scratch. If you take off these pads, resonance will be noticeably improved. *The pad is a consumable part not covered by warranty. You can purchase replaceable pads separately from our Online Shop/ accessories. You may need to upgrade a bridge of your ligature to conveniently replace the pads. *Following video has very important information about initial setup. Please watch to get the best performance from our ligature.
*The ligature will conform to shape of your mouthpiece in few days of use and the sound will get better. *The small black pad under bridge (Bridge pad) is there to protect surface of a mouthpiece from minor scratch. If you take off these pads, resonance will be noticeably improved. *The pad is a consumable part not covered by warranty. You can purchase replaceable pads separately from our Online Shop/ accessories. You may need to upgrade a bridge of your ligature to conveniently replace the pads. *Following video has very important information about initial setup. Please watch to get the best performance from our ligature.
Slant Mounting Example
How to mount
Loosen the Tension Adjustment screw at the top of the Ligature by a few turns before sliding it in place over the mouthpiece of your instrument. The Ligature is naturally tapered to fit the mouthpiece: the side with three cords goes on your mouthpiece first, and the side with two cords should be facing towards your mouth. The Tension Adjustment should be at the top of your mouthpiece, with only the cords covering your reed. When you are playing, the Silverstein Works logo on the Ligature should be on your left.
Slant Mounting
with the Tension Adjustment off to one side. This has no side effects on your set-up and will not affect your sound in any way. A number of professionals, including David Liebman and Jerry Bergonzi, mount their Silverstein Ligatures on a slant. Some prefer the sound, while other do it to keep it away from their nose.
Straight Mounting
with the Tension Adjustment directly at the top of the mouthpiece. Also try adjusting the Fine Tuner bars on the sides of the Ligature to subtly change the color, tone, and focus of your sound.
A Frame Setup Guide
MOUNTING (T-frame Ligatures)
Example
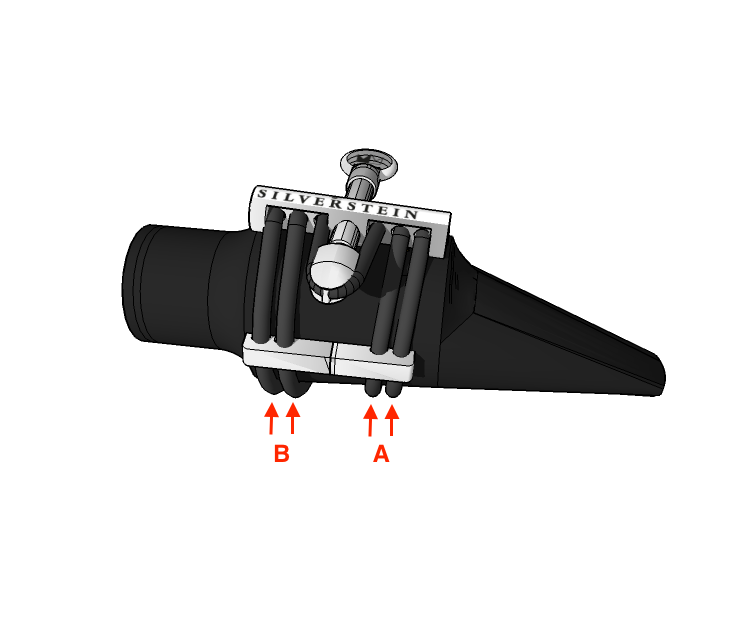
Figure 2
1. Tighten and untighten the ligature by turning the main screw.
2. Do not over-tighten. If so, the ligature will move to the lower end of mouthpiece.
3. All cords should hold the reed evenly and firmly.
4. Due to the unique shape of many mouthpieces, in some cases you may experience certain parts of the cord looser than others. (shown on the figure 1 as A and B)
If so, detach the main screw completely from the body, and move the arrow head a few millimeters along the cord in the direction that needs more tightening. (shown on Figure 2)
Then reattach the main screw back into the body and try tightening the ligature again.
*Following video has very important information about initial setup. Please watch to get the best performance from our ligature.
How to Properly Mount Silverstein T-Frame Ligatures
How to Properly Mount Silverstein A-Frame Ligatures
T Frame Initial Setup Guide
How to install pads
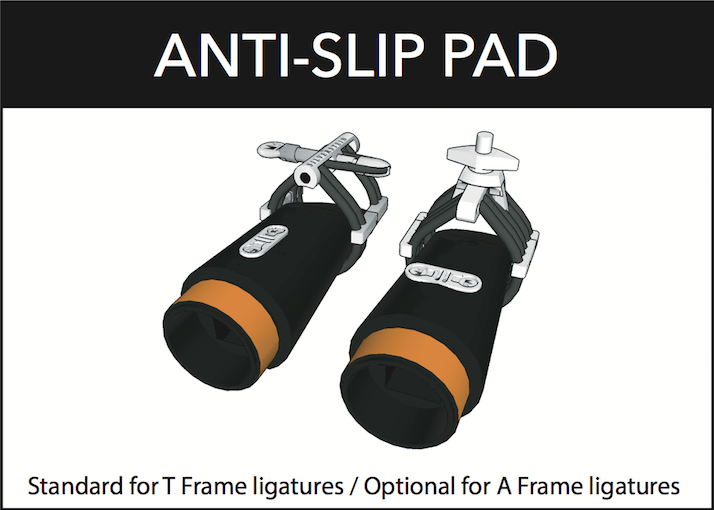
Anti-Slip Pad
How to mount
The Anti-Slip pad (Standard for T Frame, Optional for A Frame) is designed to help prevent slippage of ligatures and scratches for those who need to change instruments in the middle of live performances. However, they also slightly dampen the vibration, which may lessen the resonance and response. We recommend this pad to Orchestral musicians only. Do not use with EZ pads (Bridge pads) mounted. See more information from our online shop.
EZ Pad

HOW TO MOUNT
The sole purpose of the black rubber pads that are found in A Frame package is to prevent possible damage to the mouthpiece. While these pads provide protection, they also absorb sound which can hinder the ligature from its maximum potential. If a minor scratch does not concern you, removing these black rubber pads is recommended for optimal performance.
Use small amount of glue if necessary (usually not). Don’t put the glue in the pad holes or the small pole on pads.
The pads are consumable item. You can purchase more from our online shop.

